Eero 7.4.2 Update Missing All Devices: Understanding the Issue

Introduction:

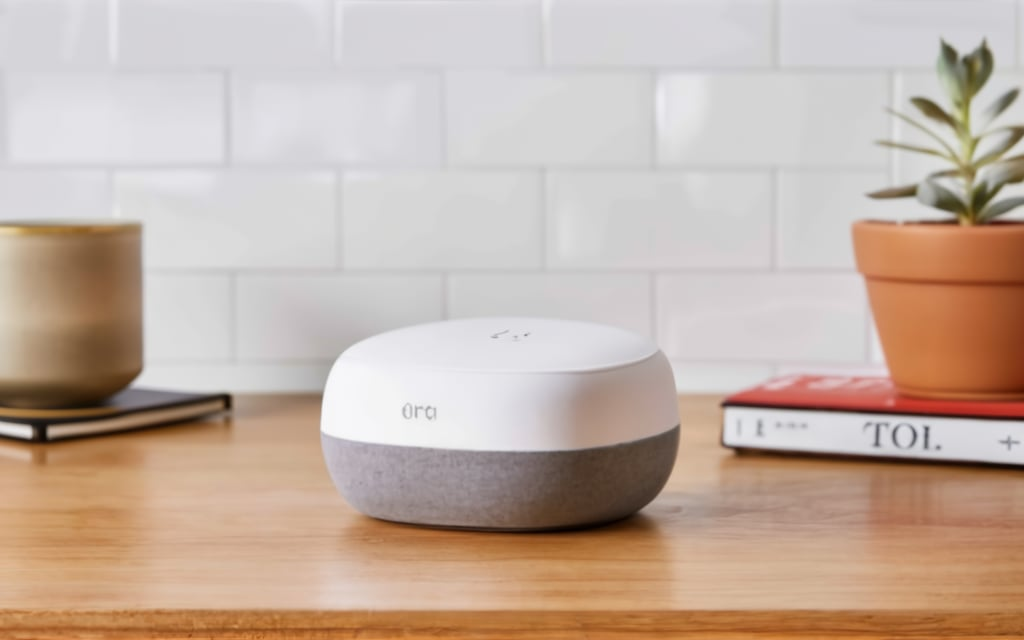
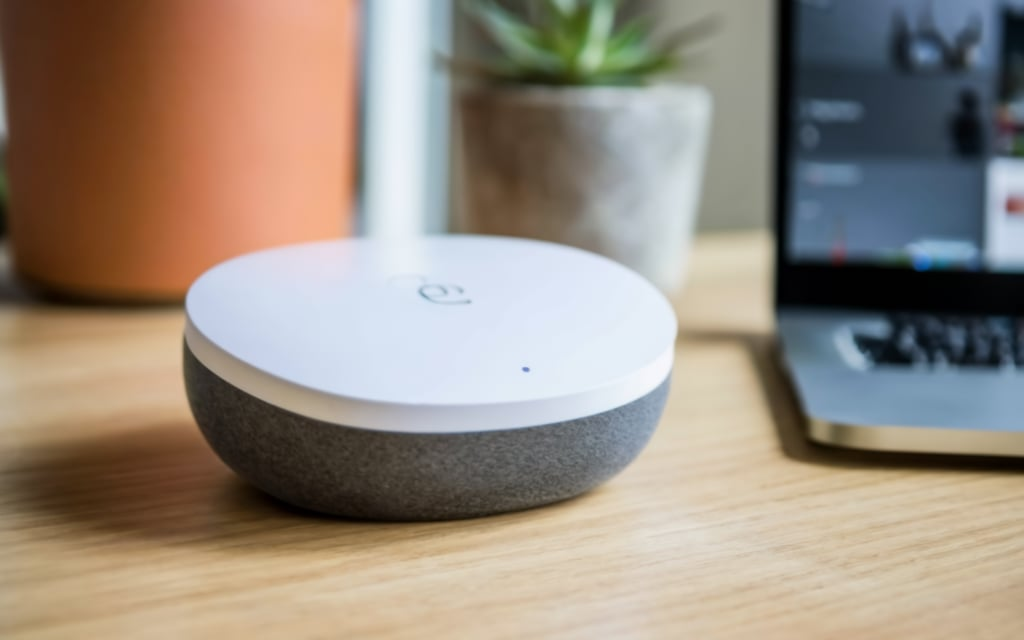
The Eero 7.4.2 update missing all devices issue is a frustrating problem faced by users of the Eero mesh Wi-Fi system. Eero is known for its user-friendly setup and seamless networking capabilities, but like any technology, it’s not immune to errors. When users update their system to firmware version 7.4.2, some report that all connected devices disappear from the network, leaving them unable to manage their home Wi-Fi effectively. This article explores why this issue occurs and what steps can be taken to resolve it.

What is the Eero 7.4.2 Update?

The Eero 7.4.2 update is part of the regular firmware updates that Eero releases to improve system performance, security, and functionality. Firmware updates enhance the mesh network’s speed, reliability, and feature set. They also fix bugs from previous versions. However, in the case of the Eero 7.4.2 update missing all devices, it seems something has gone wrong, causing connected devices to disappear from the user interface. This problem can be especially concerning because users lose visibility into their network and the ability to control devices.

Possible Causes:

The Eero 7.4.2 update missing all devices issue could be due to several factors. One of the most common causes is that the firmware update was misapplied. Incomplete updates can cause system parts to malfunction, including the user interface that shows which devices are connected to the network.

Another potential cause is a bug in the Eero 7.4.2 update itself. Despite rigorous testing, sometimes updates may contain glitches that only surface once released to a more extensive user base. These bugs can disrupt the device management system, resulting in the Eero 7.4.2 update missing all devices.

How to Identify the Eero 7.4.2 Update Missing All Devices Problem?

Users may realise they are facing the Eero 7.4.2 update missing all devices issue when they notice that the Eero app no longer displays their connected devices. Typically, the app provides a comprehensive list of all the devices currently using the network, including information on signal strength, connection speed, and the specific Eero node to which the device is connected.

After the Eero 7.4.2 update, some users only report opening the app to find that all their devices must be added to the dashboard. Despite the network functioning as expected—Wi-Fi continues to work, and devices remain connected—the lack of visibility in the app can create frustration and concern, as users cannot monitor or manage their home network.

Steps to Fix the Eero 7.4.2 Update Missing All Devices Problem:

If you are experiencing the Eero 7.4.2 update missing all devices issue, several troubleshooting steps can help you resolve the problem.

First, try restarting your Eero network. Sometimes, a simple restart can reset the system and resolve issues caused by the firmware update. You can restart the network through the Eero app by navigating to the settings and choosing to reboot the network. Alternatively, you can physically unplug your Eero devices, wait a few seconds, and plug them back in.

If restarting doesn’t resolve the Eero 7.4.2 update missing all devices issue, you may want to try re-applying the update. There may have been an error during the initial installation, and manually checking for updates again can sometimes resolve this. Go to the software update section in the Eero app to ensure your system is up-to-date and functioning correctly.

Another approach to solving the Eero 7.4.2 update missing all devices problem is resetting your network settings. This can be more drastic, as it may involve setting up your network again from scratch, but it can often resolve deeper software issues. Before doing this, ensure you have all the necessary information, such as your network name and password, to reconfigure the system.

Finally, if none of these steps work, contacting Eero support is highly recommended. The company’s customer service can provide specific guidance and assistance in resolving the Eero 7.4.2 update missing all devices issue. They may have insight into the problem based on feedback from other users and can escalate the matter if it appears to be a widespread bug.

Preventing Future Eero Update Issues:

To prevent the Eero 7.4.2 update from missing all device issues or problems in the future, you can follow a few best practices when managing your Eero network.

First, always ensure that your Eero devices have a stable internet connection during updates. A poor connection during an update can lead to incomplete installations, which may cause issues like the Eero 7.4.2 update missing all devices. Connecting your Eero devices to a wired connection during the update process can provide excellent stability.

Next, regularly check for updates manually if automatic updates are not enabled. By keeping your system on the latest firmware, you can avoid running into bugs or issues that have already been patched in newer versions.

Conclusion:

The Eero 7.4.2 update missing all devices problem can be a frustrating experience for users of the Eero mesh Wi-Fi system. Whether caused by an incomplete firmware update, a bug in the software, or network settings, the issue results in users losing visibility into their network devices, impacting their ability to manage their home Wi-Fi.

Users can often resolve the issue by following basic troubleshooting steps—such as restarting the network, re-applying the update, and resetting network settings. In more severe cases, contacting Eero support can provide the necessary assistance to fix the Eero 7.4.2 update missing all devices problem.

With proper maintenance, stable internet connections during updates, and regular network reboots, users can reduce the likelihood of encountering similar issues in the future and enjoy the full capabilities of their Eero system.

READ MORE: How to TUF Gaming X570-Plus BIOS 5013

Distress Signal Device Tarkov: A Comprehensive Guide

Introduction:

Escape from Tarkov combines intense survival elements, tactical gameplay, and immersive combat scenarios. One key aspect that adds depth to the game is the introduction of different devices that can either help or hinder players during their journey. Among these, the distress signal device Tarkov is a crucial element that players encounter. This device serves as both a tool for communication and a potential trap, depending on how it is used in the game.

In this article, we will explore the mechanics of the distress signal device Tarkov, its role in the gameplay, and why mastering its use can be critical to surviving in the hostile world of Tarkov.

The Role:

The distress signal device Tarkov is designed to simulate a real-world emergency beacon, allowing players to call for help or signal their location to others. In theory, this device is meant to assist players in a dire situation, whether due to injury, being pinned down by enemies, or running out of resources. The device’s primary function is to emit a distress signal, which others can detect within a certain radius.

However, in the unforgiving environment of Tarkov, using the distress signal device Tarkov comes with risks. While it may attract potential rescuers or allies, it can also draw the attention of hostile players or scavengers. This dual-purpose nature makes the distress signal device Tarkov a lifeline and a liability, requiring players to be strategic in its use.

How to Use?

Using the distress signal device Tarkov is relatively simple, but mastering its timing and location is critical. To activate the device, a player must have it in their inventory, and once triggered, the device will begin to broadcast a signal. Other players, NPCs (Non-Playable Characters), or specific in-game systems designed to respond to distress calls can pick up this signal.

When activating the distress signal device Tarkov, it is crucial to consider the environment. Using it in open areas can increase the chances of being spotted by allies, but it also exposes the player to enemies. On the other hand, activating the device in a more concealed or sheltered area can help reduce visibility to hostile forces. Still, it may limit the ability of friendly players to locate the signal.

The strategic placement of the distress signal device Tarkov can be the difference between life and death. Timing is equally essential; using it too early might save the opportunity, while using it too late may leave the player vulnerable with no time for rescue.

Risks Associated:

One of the most significant risks when using the distress signal device Tarkov is that it can reveal your location to enemies. As the device emits a beacon-like signal, hostile players or scavengers can intercept and track its source. Players sometimes use the distress signal to set up ambushes, waiting for unsuspecting rescuers or allies to approach the location.

Moreover, the distress signal device Tarkov can create a false sense of security. While it may seem like a simple solution to a desperate situation, relying too heavily on it can lead to careless decision-making. Players who overuse the device might attract too much attention, putting themselves at risk in an already dangerous environment.

Experienced players often need proper planning to respond to distress signals in high-stakes encounters. Some may ignore the distress signal device Tarkov entirely, while others may approach with extreme caution, knowing the potential for enemy ambushes.

Strategies for Effectively Using:

Players must develop a strategic mindset to make the most out of the distress signal device Tarkov. One effective strategy is to use the device as a distraction. By activating the device in one location and quickly moving to another, players can draw enemies to the beacon while they escape or set up their ambush.

Another approach is to use the distress signal device Tarkov in coordination with a team. If a group of players is working together, they can use the distress signal to lure enemies into an advantageous position or to signal allies when they need assistance. Communication and coordination are essential in making the device work as a tool for survival.

Lastly, players should always consider the surroundings when activating the distress signal device Tarkov. Open areas may offer visibility but come with the risk of exposure. In contrast, using the device in a secluded or hard-to-reach location can increase the chances of survival by limiting the number of enemies who can easily reach the signal.

The Evolution:

Tarkov has significantly impacted the game’s meta by introducing the distress signal device. Players who master its use can turn the tide of battles, while those who underestimate its importance may find themselves outmanoeuvred. Over time, it has become a survival, manipulation, and tactical advantage tool.

As the game continues to evolve, the mechanics of the distress signal device Tarkov will likely see changes and improvements. Players who stay ahead of these changes and adapt their strategies accordingly will have a better chance of succeeding in the dangerous world of Tarkov.

Conclusion:

In the challenging world of Escape from Tarkov, every tool and device can be a double-edged sword, and the distress signal device Tarkov is no exception. While it offers a potential lifeline to players in need, it also carries significant risks that must be carefully weighed before use. Understanding when and how to use the distress signal device Tarkov is crucial in surviving the unforgiving environments and encounters in the game.

By developing strategic approaches, coordinating with teammates, and remaining aware of the risks, players can turn the distress signal device Tarkov into a powerful asset. However, like everything in Tarkov, success with this device requires skill, caution, and the ability to adapt to a constantly changing battlefield.

READ MORE: Disney Card Game Techinsiderz.com

Understanding “Could Not Find Device SideJitServer”

Introduction:

The error message “could not find device sidejitserver” can be puzzling for users unfamiliar with technical software or programming environments. This error typically appears when there is a failure in communication between a device and the Just-In-Time (JIT) server. It is essential to understand what this error means, what triggers it, and how it can be resolved. This article will explore the context of the “could not find device sidejitserver” error, its potential causes, and some solutions.

What is a SideJitServer?

Before delving into the “could not find device sidejitserver” error, it’s essential to explain what a SideJitServer is. SideJitServer refers to a component associated with the Just-In-Time (JIT) compilation process. JIT compilation is commonly used in modern programming languages and applications to enhance performance by compiling code during execution rather than before it. This results in optimized and faster-running applications.

SideJitServer typically runs as a separate service, processing data from a client-side application or device. When the system or application could not find the device sidejitserver, it implies that the device was unable to communicate with or locate the JIT server needed for executing specific tasks. The absence of the JIT server can lead to performance degradation or functionality issues within the application.

Causes of Error:

The “could not find device sidejitserver” error can occur for several reasons, ranging from software misconfiguration to network issues. Below are some common causes:

  1. Network Connectivity Issues: In most cases, the “could not find device sidejitserver” error can be attributed to network issues. If a device cannot connect to the required JIT server over the network, it will fail to access the necessary resources, triggering this error.
  2. Server Unavailability: Another reason could be that the SideJitServer is unavailable or not operational. Whether due to maintenance, server failure, or server misconfiguration, if the JIT server is offline, the system will throw the “could not find device sidejitserver” error.
  3. Incorrect Device Configuration: If the device from which the connection request is being made is misconfigured or lacks the correct settings to locate the SideJitServer, the “could not find device sidejitserver” error will occur. This could be caused by improper software installation or updates that didn’t configure the server connection properly.
  4. Firewall or Security Settings: In some environments, firewalls or network security settings might block communication between a device and the SideJitServer. If such settings prevent the connection, the system will produce the “could not find device sidejitserver” message.

Impact of the “Could Not Find Device SideJitServer” Error

When the “could not find device sidejitserver” error occurs, the immediate effect is on the application or program trying to communicate with the server. Since JIT compilation is essential for enhancing performance, the inability to connect with the SideJitServer can result in delayed program execution, reduced efficiency, or complete application failure.

For instance, in systems that rely on real-time data processing, failure to connect to the SideJitServer could lead to significant operational delays. Similarly, in development environments where JIT compilation speeds up the debugging or execution of code, this error could hinder productivity.

Solutions for the Error:

Addressing the “could not find device sidejitserver” error requires diagnosing the root cause. The following actions will help to fix the problem:

  1. Check Network Connectivity: Since this error is commonly caused by network problems, verifying that the device has a stable and active connection to the network is essential. Ensure the device can communicate with the server via the ports and protocols.
  2. Verify Server Availability: If the “could not find device sidejitserver” issue persists, it’s crucial to check if the SideJitServer is running correctly. Contacting the server administrator or checking server logs may provide insight into whether the server is up and running or requires maintenance.
  3. Correct Device Configuration: If the issue stems from incorrect device settings, reviewing the configuration to ensure that the device has the correct IP address, port numbers, and other details needed to connect to the SideJitServer is necessary.
  4. Update or Reinstall Software: Sometimes, the error could arise from outdated or corrupted software. Ensuring that the software on the device is up to date and reinstalling the application may resolve the “could not find device sidejitserver” error.
  5. Modify Firewall or Security Settings: In cases where security settings block communication, configuring the firewall to allow traffic between the device and the SideJitServer might be necessary. This may require adding exceptions for specific IP addresses or protocols used by the server.

Preventing Error:

Once the “could not find device sidejitserver” error is resolved, it’s essential to prevent it from recurring. Ensuring the device and the SideJitServer are appropriately maintained can reduce the chances of facing this error again. Regularly monitoring network connectivity, server health, and device configurations will ensure the system operates without interruptions.

Moreover, establishing proper security protocols that don’t interfere with necessary communication between devices and servers is crucial. Regular updates to device software and server configurations can help prevent misconfigurations or communication breakdowns, thereby avoiding the “could not find device sidejitserver” error in the future.

Conclusion:

The “could not find device sidejitserver” error is primarily a communication issue between a device and its required JIT server. This error can lead to decreased system performance or application failure, whether caused by network issues, server unavailability, or misconfiguration. However, the error can be resolved efficiently with proper diagnosis and corrective actions.

Addressing this error is crucial, especially in environments where real-time data processing or efficient application execution is essential. By following the appropriate troubleshooting steps and preventive measures, users can avoid the recurrence of the “could not find device sidejitserver” error and ensure a smooth, error-free operation of their systems and applications.

READ MORE: Gigabyte B650 Gaming X AX Motherboard SAS

RealDebrid/Device: A Comprehensive Guide

Introduction:

The term realdebrid/device has gained increasing popularity among online streaming enthusiasts. RealDebrid is a multi-hosting service that allows users to download files and stream media from premium sources. The actual debris/device concept enhances the online streaming experience, offering smooth and uninterrupted content viewing. Through the integration of realdebrid/device, users can unlock premium links to various streaming platforms without the limitations commonly experienced with free hosting services.

What is RealDebrid/Device?

Realdebrid/device is essentially a way to authenticate and activate RealDebrid on various devices, such as computers, smartphones, and streaming gadgets like Amazon FireStick. When users encounter its prompt, they typically need to activate their RealDebrid account on that particular device to enjoy premium streaming services. RealDebrid provides users a unique link and code (through realdebrid/device) to complete this process.

To use RealDebrid/device, users must sign up for a RealDebrid account and choose a subscription plan. After activating their account, they can log into any streaming device that supports RealDebrid, such as Kodi, by entering a code displayed on their device at realdebrid/device. This method ensures smooth integration between RealDebrid services and the chosen streaming device, enabling users to access premium content easily.

How to Enhance Streaming?

One of the primary reasons for the widespread adoption of real debris/devices is its ability to bypass common streaming limitations. Users may experience low-quality streams, slow buffering times, or even broken links when using free hosting services. By activating realdebrid/device, users can access high-quality premium streams from multiple file hosts without interruptions.

The setup ensures that users can view content in HD, Full HD, or even 4K resolution, depending on their internet connection. Fast servers that minimize buffering give users access to reliable links, unlike the unstable free hosts that often provide poor service. By entering the code at realdebrid/device, users unlock this enhanced experience, making streaming more enjoyable and efficient.

Setting Up:

Setting up a realdebrid/device is simple and requires just a few steps. First, users must have an active RealDebrid account. After installing a streaming app such as Kodi or any other RealDebrid-supported application, its code will be provided on the screen.

Users will then need to visit the link provided by RealDebrid, where they will be asked to enter the unique code displayed on their streaming device. Once entered, this links the streaming device to the RealDebrid account, granting access to the premium links. The setup is user-friendly and only needs to be completed once per device, after which users can enjoy premium streaming without the need to repeat the process.

Compatibility:

Another attractive feature of realdebrid/device is its compatibility with various platforms and streaming devices. The system works seamlessly across multiple devices, whether using a FireStick, Roku, smartphone, or desktop computer. This flexibility makes it easy for users to access premium content on their preferred devices.

The activation also works with various streaming apps and platforms, notably Kodi. Integrating it with Kodi allows users to maximize their streaming capabilities by unlocking the best TV shows, movies, and other media content sources. This device compatibility and the wide range of supported apps make it a highly sought-after service for streaming enthusiasts.

The Benefits:

Its benefits are numerous, primarily due to its elevated streaming quality. It provides a reliable alternative for anyone who needs help with buffering issues, low-quality streams, or broken links. By linking a device to RealDebrid using the realdebrid/device setup, users can stream content in the best possible quality without the frustration of slow-loading or freezing videos.

Moreover, it supports an ad-free experience, eliminating the interruptions caused by intrusive advertisements on many free hosting sites. This results in a seamless streaming session, ensuring users can watch their favorite content without delays or distractions.

Subscription Plans:

To fully enjoy the services of RealDebrid/device, users must subscribe to one of RealDebrid’s premium plans. These affordable plans offer excellent value for the premium streaming experience they provide. Once subscribed, users can link their devices via realdebrid/device and begin accessing premium content from over 50 supported file hosts.

RealDebrid offers a range of subscription plans, allowing users to select one that best suits their needs. With the ability to use it on multiple devices, the subscription offers excellent flexibility and convenience for those who want to stream on various gadgets.

Security:

The security of streaming content is an essential consideration for users of it. RealDebrid ensures that the data transmission between users and servers is secure, meaning that personal information and streaming activities are kept confidential. Additionally, when using it, users can be assured of safe and secure connections to premium hosts, reducing the risks associated with unreliable or malware-infected accessible streaming sources.

By enabling realdebrid/device, users also enjoy an added layer of privacy when accessing online content. RealDebrid does not log user activities, ensuring that personal browsing and streaming habits are kept private. This is essential for online security and data protection while streaming.

Conclusion:

In conclusion, it has revolutionized the online streaming experience by providing access to premium content without the limitations commonly associated with free hosting services. Users can enjoy high-quality streaming with minimal buffering, access to premium links, and a seamless experience across multiple devices by setting it up. Whether using a FireStick, smartphone, or desktop computer, realdebrid/device enhances your ability to stream quickly and efficiently.

It offers a premium solution for streaming enthusiasts seeking a more reliable and secure service. With a simple setup process, broad compatibility, and enhanced streaming quality, realdebrid/device is an essential tool for anyone looking to take their streaming experience to the next level.

READ MORE: Leatheling Game